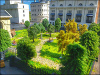
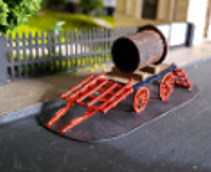
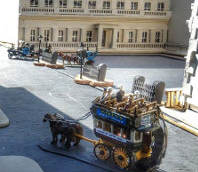
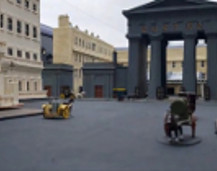
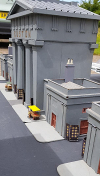
London & North Western Railway History Group

Layout Gallery

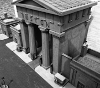
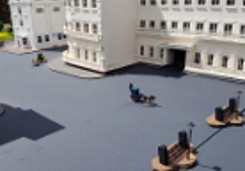
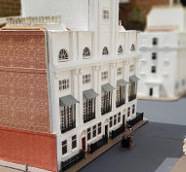
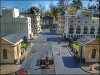
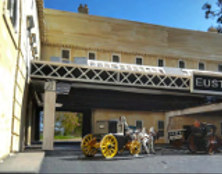
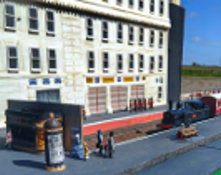
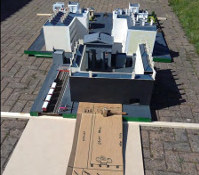
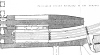
A selection of photo's of Euston Station supplied by Ted Talbot and David Ashford
Select any photo to display a larger version
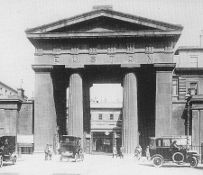
View of Layout Euston Station  . ./mthumbs/p1 View of Layout Euston Station  . ./mthumbs/p1 View of Layout Euston Station  . ./mthumbs/p2 View of Layout Euston Station  . ./mthumbs/p2 View of Layout Euston Station  . ./mthumbs/p3 View of Layout Euston Station  . ./mthumbs/p3 View of Layout Euston Station  . ./mthumbs/p4 View of Layout Euston Station  . ./mthumbs/p4 View of Layout Euston Station  . ./mthumbs/p5 View of Layout Euston Station  . ./mthumbs/p5 View of Layout Euston Station  . ./mthumbs/p6 View of Layout Euston Station  . ./mthumbs/p6
View of Layout Euston Station  . ./mthumbs/p7 View of Layout Euston Station  . ./mthumbs/p7 View of Layout Euston Station  . ./mthumbs/p8 View of Layout Euston Station  . ./mthumbs/p8 View of Layout Euston Station  . ./mthumbs/p9 View of Layout Euston Station  . ./mthumbs/p9 View of Layout Euston Station  . ./mthumbs/p10 View of Layout Euston Station  . ./mthumbs/p10 View of Layout Euston Station  . ./mthumbs/p11 View of Layout Euston Station  . ./mthumbs/p11 View of Layout Euston Station  . ./mthumbs/p12 View of Layout Euston Station  . ./mthumbs/p12
View of Layout Euston Station  . ./mthumbs/p13 View of Layout Euston Station  . ./mthumbs/p13 View of Layout Euston Station  . ./mthumbs/p14 View of Layout Euston Station  . ./mthumbs/p14 View of Layout Euston Station  . ./mthumbs/p15 View of Layout Euston Station  . ./mthumbs/p15
×

This site does not use cookies. We do NOT know who you are and hence cannot pass on any information to anyone.

The hosting site keeps track of ip address and pages visited in order to provide us with anonymous statistics on site usage.